Installation wizard
Quick start
When OfficeOnline prerequisites are fulfilled and all OfficeOnline files are installed, the last step to completing the installation is running the Installation Wizard. This is just three steps:
Point your Web browser to
http://localhost/nextcloudEnter your desired administrator’s username and password.
Click Finish Setup.
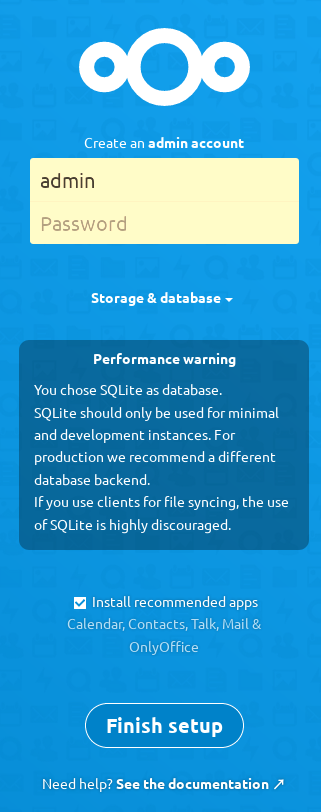
You’re finished and can start using your new OfficeOnline server.
Of course, there is much more that you can do to set up your OfficeOnline server for best performance and security. In the following sections we will cover important installation and post-installation steps.
Data directory location
Click Storage and Database to expose additional installation configuration options for your OfficeOnline data directory and database.
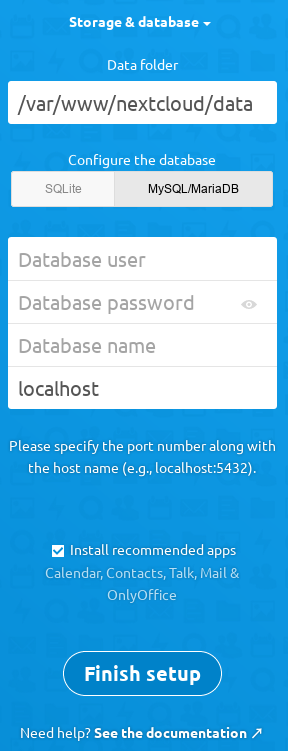
You should locate your OfficeOnline data directory outside of your Web root if you
are using an HTTP server other than Apache, or you may wish to store your
OfficeOnline data in a different location for other reasons (e.g. on a storage
server). It is best to configure your data directory location at installation,
as it is difficult to move after installation. You may put it anywhere; in this
example is it located in /opt/nextcloud/. This directory must already exist,
and must be owned by your HTTP user.
Database choice
SQLite is the default database for OfficeOnline Server and it is good only for testing and lightweight single-user setups without client synchronization. Supported databases are MySQL, MariaDB, Oracle 11g, and PostgreSQL, and we recommend MySQL/MariaDB. Your database and PHP connectors must be installed before you run the Installation Wizard. When you install OfficeOnline from packages all the necessary dependencies will be satisfied (see Installation on Linux for a detailed listing of required and optional PHP modules). You will need the root database login, or any administrator login , and then enter any name you want for your OfficeOnline database. Be careful your administrator login needs to have the permissions to create and modify databases and they needs to have the permissions to grant permissions to other users.
After you enter your root or administrator login for your database, the
installer creates a special database user with privileges limited to the
OfficeOnline database. Then OfficeOnline needs only the special OfficeOnline database
user, and drops the root dB login. This user is named for your OfficeOnline admin
user, with an oc_ prefix, and then given a random password. The OfficeOnline
database user and password are written into config.php:
'dbuser' => 'oc_molly',
'dbpassword' => 'pX65Ty5DrHQkYPE5HRsDvyFHlZZHcm',
Click Finish Setup, and start using your new OfficeOnline server.
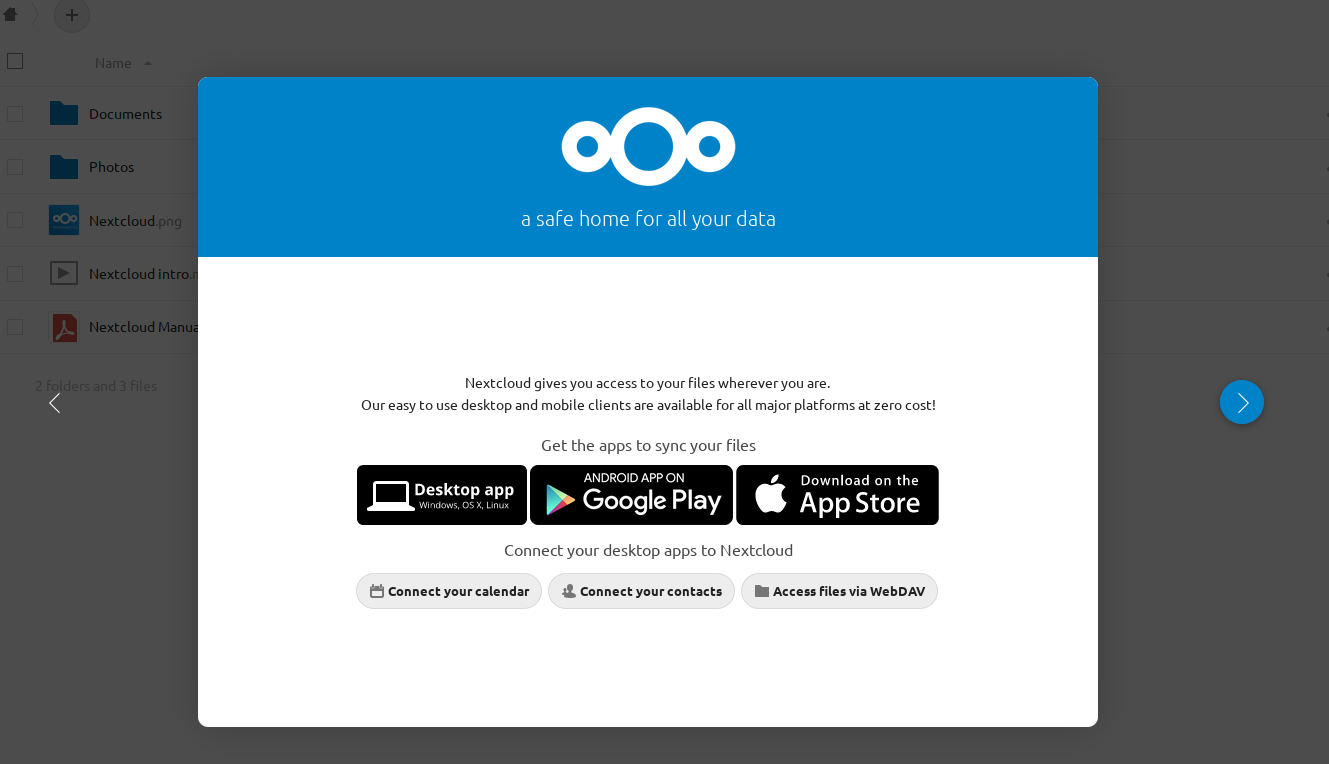
Now we will look at some important post-installation steps.
Trusted domains
All URLs used to access your OfficeOnline server must be whitelisted in your
config.php file, under the trusted_domains setting. Users
are allowed to log into OfficeOnline only when they point their browsers to a
URL that is listed in the trusted_domains setting. This is not a
list of allowed client-side domains or IP addresses.
You may use IP addresses and domain names.
A typical configuration looks like this:
'trusted_domains' =>
  array (
   0 => 'localhost',
   1 => 'server1.example.com',
   2 => '192.168.1.50',
   3 => '[fe80::1:50]',
),
Note:
The loopback address, 127.0.0.1, is automatically whitelisted, so as long
as you have access to the physical server you can always log in. In the event
that a load balancer is in place there will be no issues as long as it sends
the correct X-Forwarded-Host header. When a user tries a URL that
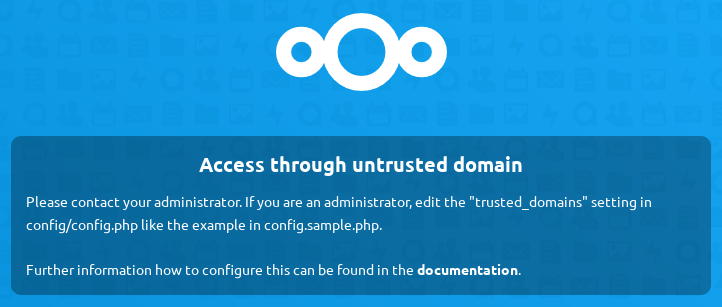
is not whitelisted the following error appears: